
Lighting Considerations For High-end Jewellery Photography
- Jack Pickerill
- Feb 24
- 4 min read

How?
Even in the year 2026, information on how to shoot jewellery effectively in the studio is extremely scarce. The best information I've found on the subject has come from books published in the 90's or simply through word of mouth when assisting other photographers. I imagine within this small niche jewellery photographers like to keep their secrets!
Here is my perspective on shooting reflective materials such a jewellery and some nuggets of information I've picked up from my shoots some of which you will stuggle to find elsewhere.
Hard Light Vs Soft Light for Precious Metals
When photographing jewellery and other high reflective material, what we are actually mostly shooting is the reflections themselves.
Therefore half the battle with jewellery photography is getting those reflections to look aesthetic and representative of the true finish of the metal.
Soft light
The danger of using only soft light sources when shoot reflective products is that the reflection we get back from the light will be smooth and flat - the same properties of a matte finish.
Properties of a matte finish:
Diffused Highlights
Low in specularity
Soft transitions from light to dark (gradients)

We need the finish of the jewellery be true to life at all times, the properties of a shiny metal are:
High specularity
Strong defined highlights
High Contrast (black blacks and white whites)

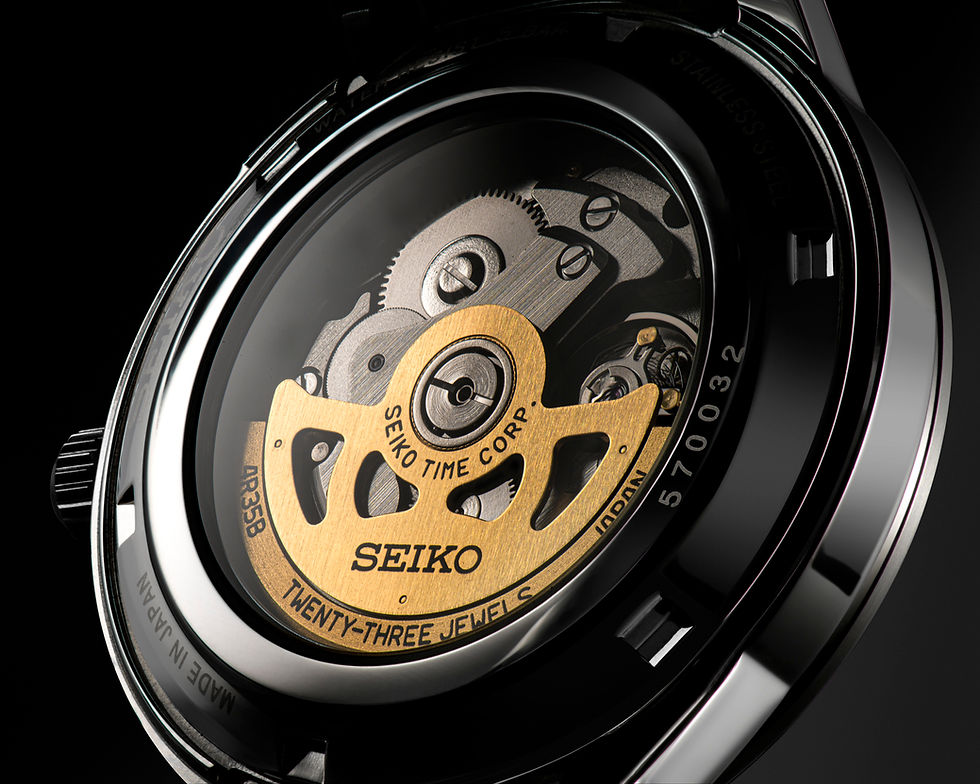
To accurately show off the properties of this metal and keep a luxurious finish to the product we need to light the subject with a large piece of diffusion paper and create as many interaction points (light sources and shadow sources) within this paper as possible; this creates the multiple gradients you can see in the image above and combats the usual properties of a large soft light source.
Also important - black points and white points. Don't be tempted to remove the black sections of the reflection. If anything it can often be beneficial to add these in with some strategically placed black card or cinefoil.
Dont be afraid of clipping
For me this is the secret sauce in shooting reflective products; Include tiny sections of pure white highlights.
Newcomers to studio photography are often hyper aware of retaining as much light information and maintaining that 'HDR' look, in which highlights are tamed down and shadows are lifted. I would advise against this when shooting chrome and precious metals.
Note the image above and slivers of pure white around the base and rim of the bath, as well as the black areas on the products left corner and rim. This high contrast look gives the image a true sense of the products finish.
The best of both worlds
To summarise:
1) Surround your product in diffusion paper to encase the product in a large soft light source.
2) Use as many light sources as possible to create multiple gradients
3) Add in black card strategically to create hard black lines
4) Don't be afraid to clip highlights in small areas.
Lighting for Diamonds
We apply these same principles when shooting diamonds and other gemstones.
What are the reflective qualities of diamonds?
High Contrast
Refractions internally
Brilliance
Spectral Colours (although a common trend amongst jewellery brands is to hide this attribute)

To stay true to these principles we need a small, hard and direct light source. This will bounce around inside the diamond and show us how the diamond reacts to light in person.
A note on exposure
Diamonds are very easy to over expose. Be careful here and ensure you capture enough information across the rock. Again I think some clipping here will show the brilliance and contrast in the stone, however this clipping is best added later though adjusting levels rather then over exposing in camera.
Diamonds within precious metal
We also need to be wary of other finishes on the rest of the product.
To light only the stone in camera it is best to use a conical snoot, reflected into a very small fragments of mirror pointed directly at the stone.
We can also get creative with the set here and reflect black cinefoil sections (to give random black refractions not just the light source) as well as CD fragments (to show specteral colours) into the diamond. This can give a really convincing display of the diamonds clarity.
Managing Micro Scratches
If you're reading this deep into the article I expect you may already know to clean jewellery before shooting it, however some scratches are often invisible to the naked eye and can only be lessened through a combination of lighting and professional retouching.
How lighting effects scratches
Hard light sources create micro contrast on your product, giving every scratch in the jewellery its own tiny shadow. Angle of incidence also plays a large part here.
Use very diffused and soft lighting very close to the product as the key light and angle this at a 45 degree to the subject.
In the case of a very scratched product or jewellery that is poorly finished; add specularity sparingly and in the areas that have suffered the least damage.

Summary
Ultimately, being a jewellery photographer is about precision, control of your set, and knowing your subject.
Get to know the properties of reflective surfaces and the physics of studio lighting and use the tips in this article to make images that are accurate, dimensional and luxurious.
Looking for a jewellery photography Studio?
At Teal Studios, we work with brands to create professional product imagery that builds trust and help you present your brand in the best possible light.
If you want images that make the right impression, we’d love to hear from you.
Call us: 07557168288
Email: info@tealstudios.co.uk
Visit: www.tealstudios.co.uk


Comments